
I hope everyone has been safe and well during these times. There's been a LOT going on in the world during the past couple of months, and while we should all be talking some time to continue to educate ourselves about global and national issues, we also must find a balance and practice some self-care (so that we can continue to show up and learn!)
I'm coming to you today with a light-hearted DIY post. For me, I've found that moving my hands and crafting has been really beneficial for my overall wellbeing, and I find it very soothing! At times, I get discouraged because I don't think that much of what I'm creating is particularly "beautiful" but I don't want to let that stop me from merely trying.
When the pandemic hit and my work closed and school went online, I flew to where my partner lives to bunker up with them. This has been great, buuuut I has less than a day to pack and I didn't think I would be living somewhere other than my apartment for 4+ months. I, inevitably, did not pack as many things as I would've liked to have. And it is truly just little things that I didn't think to bring, but would be nice to have, so I've been trying to be inventive about making them instead of buying them while I'm up here!
Recently, I've really been wanting a spot to put my makeup brushes that isn't my make up bag. So I decided to re-use a jar that we would've recycled anyway! You can really for this DIY for anything that you want to put in a jar, whether it be cotton balls, coins, or even just decor! Here's how I did it.
Step one: Remove any labels the jar has. If your jar is sticky to the touch, soak it in a bowl of vinegar for ~30 minutes, and then scrub at it with a scrubbie (the one you use to wash dishes) under warm water. Repeat if necessary.

Step two: Gather your supplies!
You will need: 4 acrylic paint colors that you think work well together, your clean jar, paint brushes or q tips, and some paper towel/water, and a palette

I went with these four colours, but any four that you like will do!

Step three: For this pattern, we are going to be doing dots, around dots, around dots (this will make sense in a minute). So decide on your sequence of colours. I decided to go from darkest to lightest, so blue-purple-pink-white, but I also think any combination would look really nice!
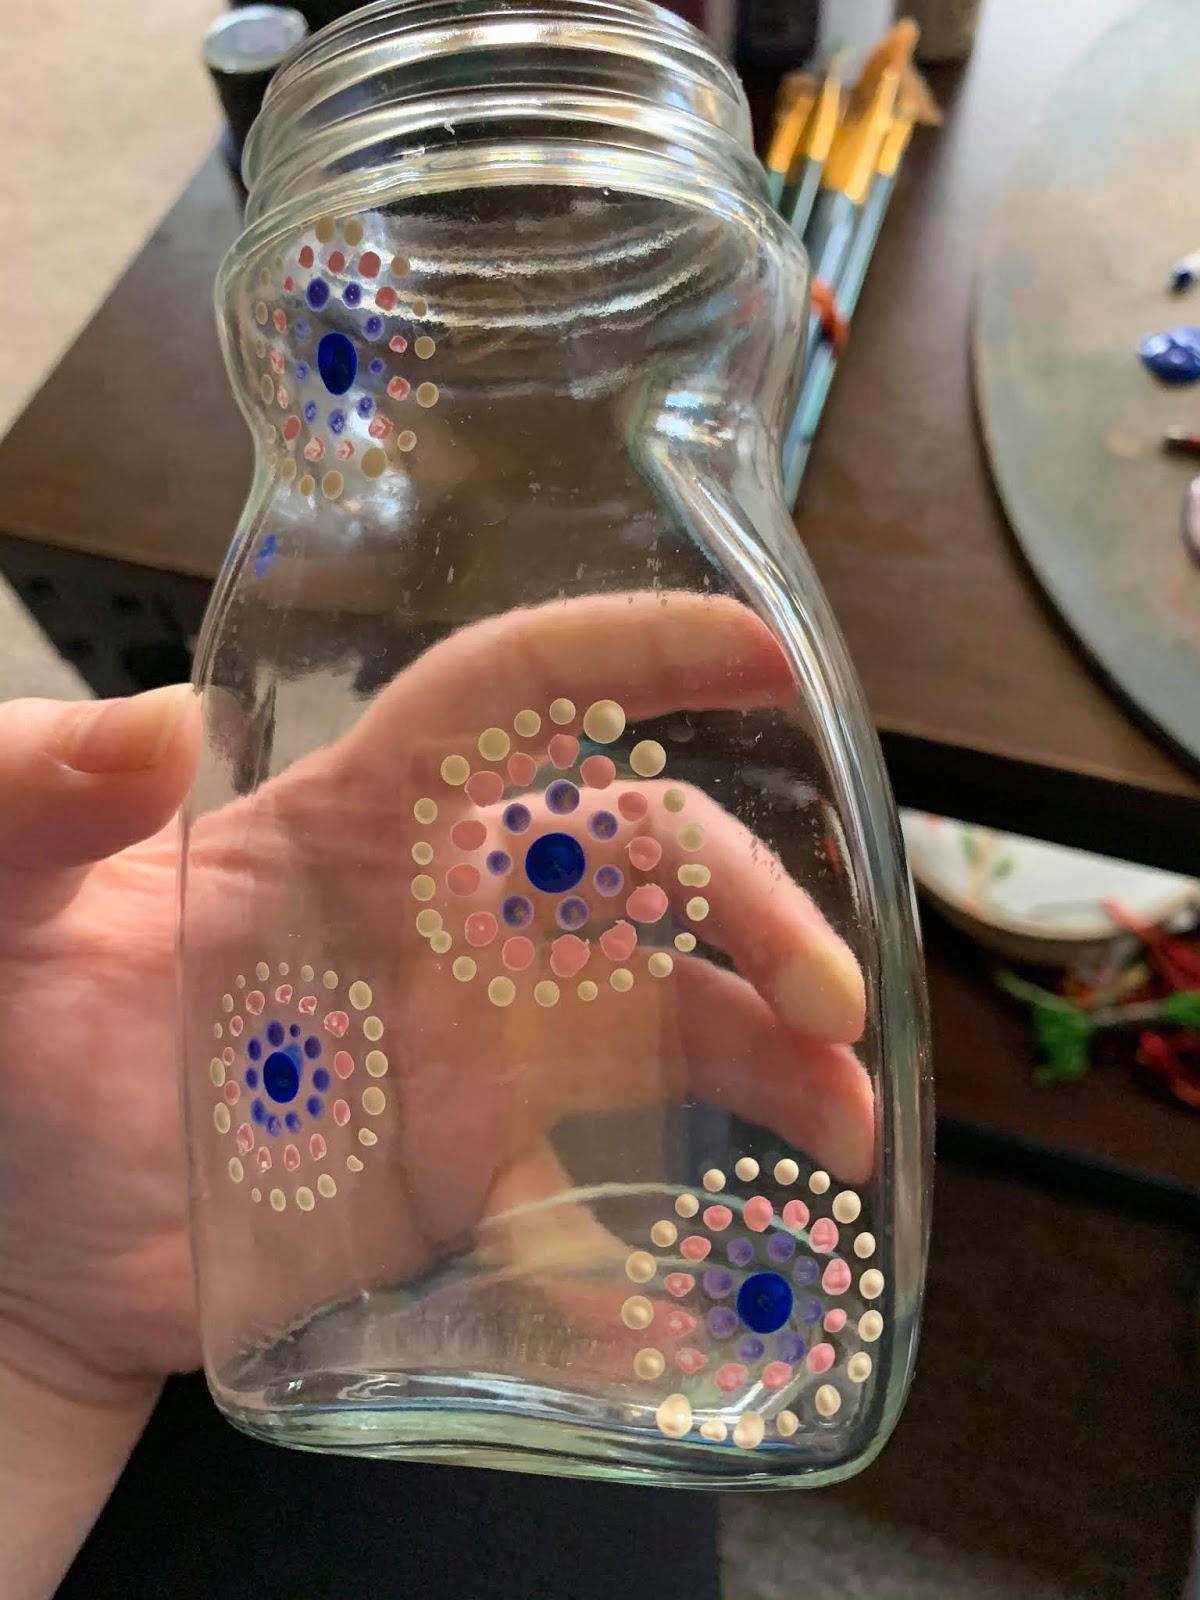
Step four: start dotting! I want my first (blue) dot to be the biggest, and my outside (white) dots to be the smallest, so I went for a combination of q-tips and small paintbrushes to achieve this. Having a really light touch while doing the small dots really helped, but sometimes they were still kind of big! Don't be discouraged if that happens - it'll still look beautiful!

Start with your first color (blue) and make a single, large dot.
Then using your next color (purple) make slightly smaller dots around the blue.
Repeat for the next two colours!
Step 6: Once you're happy with how your jar looks, let dry overnight and place your items in it the next morning!


I added my makeup brushes once the paint was dry. I also added a fun blue stripe going around the jar!
I think that adding a base coat of colour under the dots would be really fun and make the dots pop even more, but I like the way mine looks too!
Let me know what you think and how yours turn out in the comment section below.
All the best,
Nicole :)